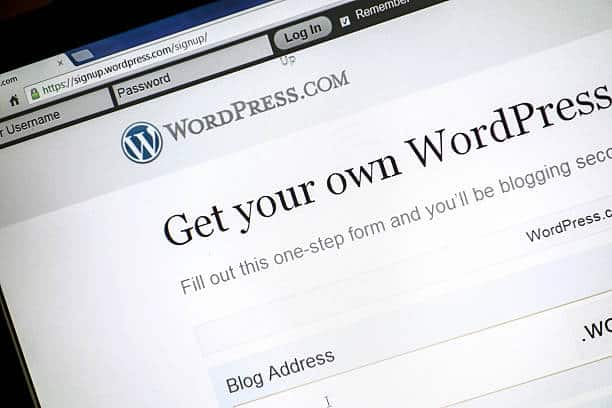
WordPress is a content management system (CMS) for creating and managing websites. It is open-source software, which means that it is free to use and modify, and it is based on the PHP programming language and the MySQL database management system.
WordPress is particularly popular for creating blogs and other types of websites that require frequent updates, and it can be easily extended with plugins and themes to add new functionality and change the appearance of the site.
How to Install WordPress CMS: Step-by-Step Guide
There are a few ways to install WordPress, but one of the most common methods is to use a web hosting service that has a one-click installer for WordPress. Here are the general steps to install WordPress using this method:
- Choose a web hosting provider that offers a one-click installer for WordPress. Some popular options include Hostinger, Bluehost, SiteGround, and HostGator.
- Sign up for an account with the web hosting provider and choose a plan that includes a domain name (the address of your website).
- Log in to your account and find the one-click installer for WordPress. This may be in the form of a button or link in the control panel.
- Follow the prompts to install WordPress, which may include selecting a directory for the installation and creating a new database.
- Once the installation is complete, you will be given a URL and login credentials for your new WordPress site. You can then log in to the WordPress dashboard to start customizing your site and adding content.
It’s worth noting that some web hosting providers also offer alternative methods of installing WordPress, like FTP or manually.
It’s also worth noting that before installing WordPress, it’s important to have some knowledge about web hosting, domain names, and DNS.
Installing WordPress using a Web Hosting Provider that offers a One-click Installer
- Choose a web hosting provider that offers a one-click installer for WordPress. Some popular options include Bluehost, SiteGround, and HostGator.
- Sign up for an account with the web hosting provider and choose a plan that includes a domain name (the address of your website).
- Log in to your account and access the control panel. You should find an option to install WordPress, it could be named “WordPress Installation” or “One-click install”
- Follow the prompts to install WordPress, which may include selecting a directory for the installation and creating a new database.
- Once the installation is complete, you will be given a URL and login credentials for your new WordPress site. You can then log in to the WordPress dashboard to start customizing your site and adding content.
- Once you are logged in, you will be taken to the WordPress dashboard. You can use this to customize your site, add pages, posts, images, and more.
- To customize the appearance of your site, you can choose a pre-designed theme or install a new one. You can find many free themes on the WordPress theme repository or purchase a premium theme from a third-party provider.
- To add new functionality to your site, you can install plugins. WordPress has a large repository of free plugins that can be easily installed and configured.
- Once you are finished setting up your site, you can publish it and make it live for the world to see by changing the settings in the hosting control panel.
It’s worth noting that the exact steps may vary depending on the hosting provider you choose, so it’s always a good idea to refer to their specific instructions.
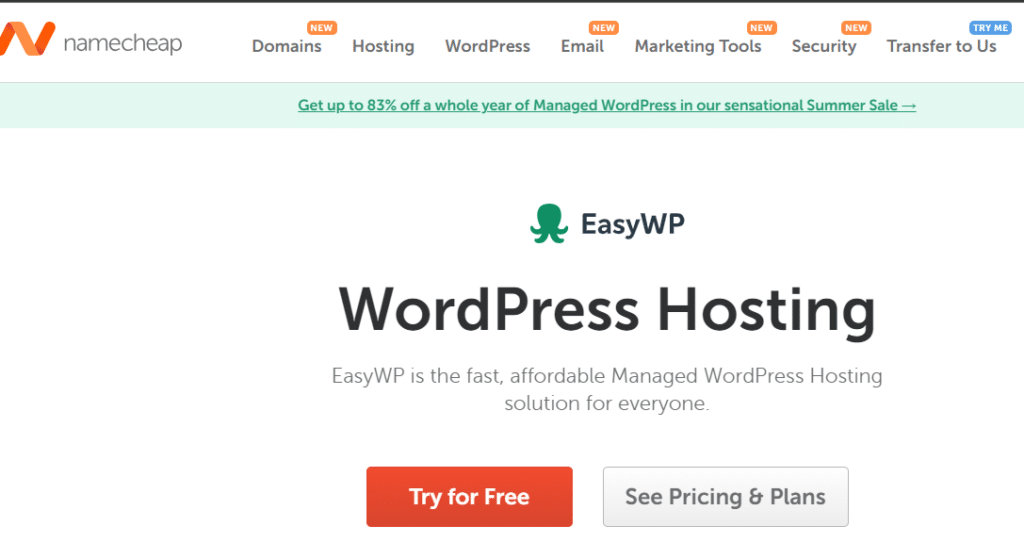
How to Install WordPress CMS on Namecheap
- Go to the Namecheap website and sign up for an account. Choose a web hosting plan that includes a domain name (the address of your website).
- Log in to your Namecheap account and navigate to the “Web Hosting” section.
- Click on the “Manage” button for the hosting plan you have chosen.
- In the control panel, scroll down to the “Autoinstaller” section and click on “WordPress”.
- Select the domain on which you want to install WordPress and fill in the required information such as the website name and admin email.
- Click on “Install” button and wait for the installation to complete.
- Once the installation is complete, you will be given a URL and login credentials for your new WordPress site. You can then log in to the WordPress dashboard to start customizing your site and adding content.
- Once you are logged in, you will be taken to the WordPress dashboard. You can use this to customize your site, add pages, posts, images, and more.
- To customize the appearance of your site, you can choose a pre-designed theme or install a new one. You can find many free themes on the WordPress theme repository or purchase a premium theme from a third-party provider.
- To add new functionality to your site, you can install plugins. WordPress has a large repository of free plugins that can be easily installed and configured.
- Once you are finished setting up your site, you can publish it and make it live for the world to see by changing the settings in the hosting control panel.
It’s worth noting that Namecheap also offers a Softaculous auto-installer for other CMS platforms such as Joomla and Drupal, in case you change your mind about using WordPress.
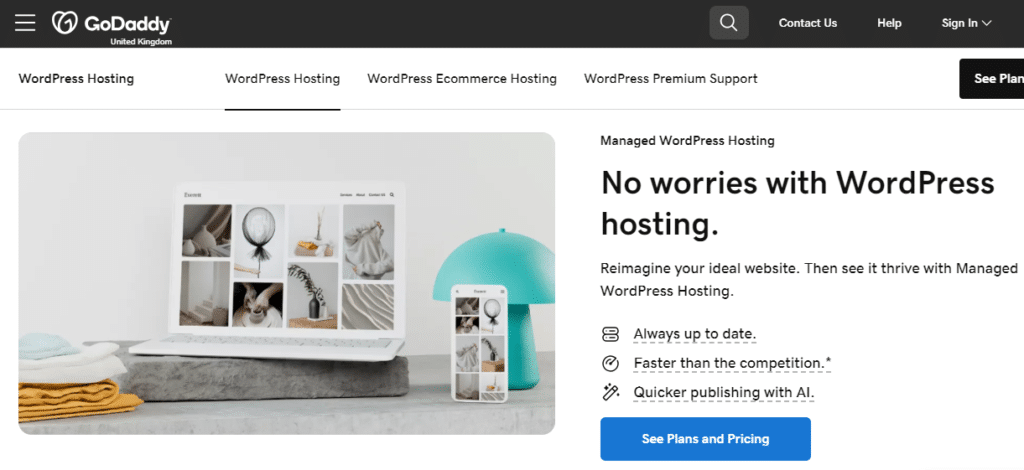
How to Install WordPress on GoDaddy
- Go to the GoDaddy website and sign up for an account. Choose a web hosting plan that includes a domain name (the address of your website).
- Log in to your GoDaddy account and navigate to the “My Products” section.
- Locate the “Web Hosting” section, and click on the “Manage” button for the hosting plan you have chosen.
- In the control panel, scroll down to the “Additional Features” section and click on “WordPress”.
- Select the domain on which you want to install WordPress and fill in the required information such as the website name and admin email.
- Click on “Next” button, and configure the settings as per your requirement and click on “install” button.
- Once the installation is complete, you will be given a URL and login credentials for your new WordPress site. You can then log in to the WordPress dashboard to start customizing your site and adding content.
- Once you are logged in, you will be taken to the WordPress dashboard. You can use this to customize your site, add pages, posts, images, and more.
- To customize the appearance of your site, you can choose a pre-designed theme or install a new one. You can find many free themes on the WordPress theme repository or purchase a premium theme from a third-party provider.
- To add new functionality to your site, you can install plugins. WordPress has a large repository of free plugins that can be easily installed and configured.
- Once you are finished setting up your site, you can publish it and make it live for the world to see by changing the settings in the hosting control panel.
It’s worth nothing that GoDaddy also offers a Softaculous auto-installer for other CMS platforms, such as Joomla and Drupal, in case you change your mind about using WordPress.
Once you have completed the installation of your WordPress CMS, the next essential step is to enhance your website’s visibility. Our article on best SEO plugin for WordPress will guide you on how to select the best tool to optimize your content and improve your search engine rankings effortlessly.
Your Path to a Successful WordPress Website Starts Here
Installing WordPress CMS is a straightforward process that opens up a world of possibilities for your website. By following the steps outlined in this guide, you can have your site up and running in no time, ready to engage your audience and grow your online presence.
For professional assistance with your website development and to ensure you’re leveraging the full potential of WordPress, contact Clickwaveco!
Why Choose Clickwaveco?
- Expert Installation: Our skilled developers will handle the entire installation process, ensuring your WordPress site is up and running quickly and efficiently.
- Customized Web Development: From stunning web designs to functional, user-friendly interfaces, we create websites that captivate and convert.
- Top-notch SEO Services: Boost your online visibility and drive traffic with our tailored SEO strategies designed to get your site ranked higher on search engines.
Contact Clickwaveco today to handle your WordPress installation and web development needs.